Olive Preserving - new techniques!
I'm always on the lookout for new olive curing and preserving techniques and this one is a beauty.
I tasted these at the home of Mrs Louca, a woman of Greek Cypriot background. I didn't need to be polite when I was complimenting her on the taste but the best was still to come. I asked her how she made them and there was nothing particularly complicated about the process. What was amazing was that she told me they only took one month to cure!
Now, I have cured many kilos of olives over the past few years and I know how long they can take. The best I can do is about 2 weeks but in each case it's a fairly intensive process, with lots of changing of water or tossing through salt etc. So when Mrs Louca told me that, after the first initial work, it's just a waiting game, I was hooked!
So the next day I went straight to my local fruiterer and they had the olives that Mrs Louca had used, the green Jumbo Kalamata. I dutifully followed the instructions that I had jotted down as she told me, carefully put the jar of prepared olives away and put a reminder on my calendar to check when the month was up. Surely it was too good to be true.
Within a few days, when looking for something else in that cupboard where the jar was stored, I noticed leakage on the shelf. Sure enough, these olives did what mine do sometimes do. Being a fermentation process, the bubbling that occurs forces the solution out of the jar and hence the leakage. I cleaned it up and then did what I should have done in the first place, put the jar of olives on a small tray to catch any more leaks.
My calendar reminded me on Saturday that the month was up, but I didn't get a chance to open and taste until last night, officially 35 days from the processing. Opening with trepidation and wary anticipation (surely it was too good to be true!), I tentatively tasted one...and then another...and then another. They were delicious! Only the slightest hint of any bitterness, which is, after all, the taste of the olive. Firm and bright green, not overly salty at all. The rest of the family were very impressed too and that is something. They are very honest with me when they don't like particular jars of olives.
This recipe is a keeper. I adjusted it a little bit by taking measurements so that it becomes a recipe, and it is one that will become part of my teaching repetoire because of its simplicity and relatively fast results. Thanks Mrs Louca for imparting your olive preserving wisdom. It'll be named after you when I use it!
CRACKED GREEN OLIVES by MRS LOUCA
You will need firm green olives for this technique. The Giant Kalamata (available in May) are ideal.
Wash the firm large green olives. Crack the olives, leaving the stones in, using the base of a small bottle and immediately place the cracked olives into a bowl of water to prevent the olives going brown. Continue until all the olives are cracked.
Place the olives into jars and calculate how much solution to make. For each litre of solution needed, include the juice of 1 lemon and 200ml white vinegar. The rest of it is made up of a 10% brine solution.
Prepare the 10% brine solution. (Mrs Louca uses the floating egg measurement to calculate how much salt to use, but I prefer calculating 10% as the brine concentration).
Add the juice and the vinegar to the solution.
Fill the jars of olives with the solution.
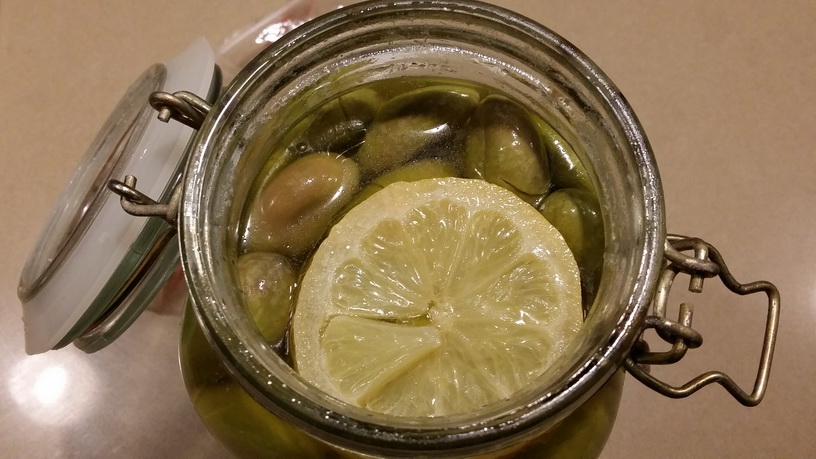
Place a slice of lemon over the top to help keep the olives submerged. Pour a layer of olive oil over the top to help keep the air out. Seal and store. It is a good idea to place the jars of olives over an old teatowel or other to absorb any leakage as the mixture may naturally ferment.
Taste the olives after one month – they should be ready to eat. If not, seal and store one again.
When serving, Mrs Louca dresses them with cracked coriander seeds and smashed garlic cloves and drizzled with olive oil.